Home RV Electrical Hookups: Code, Safety & Cost Factors
Thinking about adding an RV electrical hookup at home? Learn about code rules, safety, and the key cost factors before you install a 30A or 50A RV circuit.
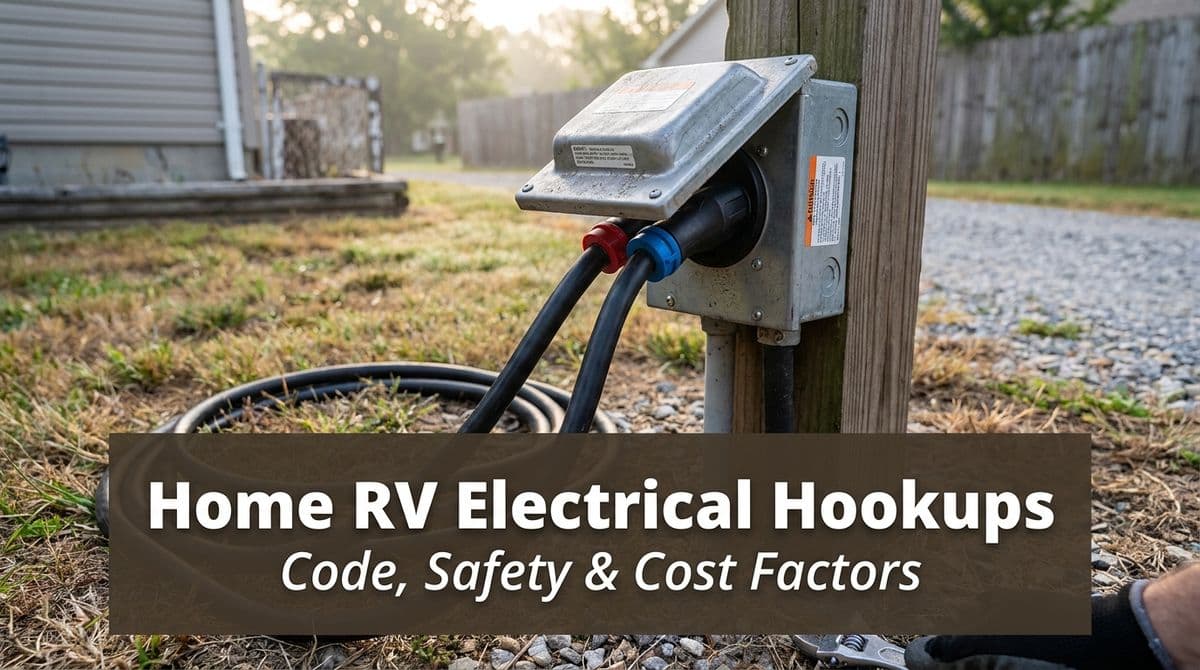
Planning an RV Electrical Hookup at Home
We recently got a call from a homeowner — let’s call him Chris — who wanted to add an RV hookup in his driveway. Chris didn’t need it right away; he was planning ahead for a trip in the fall and wanted to make sure his RV could be safely plugged in at home without tripping breakers or risking damage.
On Chris’s call, we set up an on-site visit specifically so we could see his driveway layout, the location of his main panel, and how far the RV would be from the house. Those details make a big difference in cost, code compliance, and what we can safely install.
If you’re thinking about adding an RV electrical hookup at home, here’s what you need to know about code requirements, safety, and the main cost factors — based on exactly the kinds of questions we walked through with Chris.
30 Amp vs 50 Amp: What Size RV Hookup Do You Need?
One of the first things we ask homeowners is what kind of RV they have and what kind of plug it uses. Most setups fall into two main categories:
- 30-amp RV hookup (120V) – Common on smaller campers and travel trailers. Uses a 3-prong plug.
- 50-amp RV hookup (240V split-phase) – Common on larger fifth wheels and motorhomes. Uses a 4-prong plug.
If you’re not sure which you have, check the existing RV cord or the electrical label on the RV. When we scheduled Chris’s estimate, we asked him to snap a photo of his RV plug and panel so we’d know ahead of time whether we were planning for a 30A or 50A circuit.
It’s important to match the hookup to the RV’s rating. Using the wrong size or relying on a bunch of adapters can overload circuits or starve the RV of power, which can damage equipment over time.
Key Code Requirements for RV Hookups at Home
RV hookups are covered by the National Electrical Code (NEC), especially Article 551. Local jurisdictions can add their own rules on top of that, but there are some basics we look for on every job:
Dedicated, Correctly Sized Circuit
Your RV receptacle should be on a dedicated breaker sized for the load:
- 30A RV receptacle → 30A breaker with properly sized wire
- 50A RV receptacle → 50A breaker with properly sized wire
We never tie an RV hookup into an existing general-use circuit. The RV can easily use the full circuit capacity by itself.
Proper Receptacle Type and Enclosure
We install the correct, code-approved RV receptacle:
- TT-30R for 30A RV service
- NEMA 14-50R for 50A RV service
Outdoors, that receptacle needs to be in a weatherproof, in-use rated box so the cover can close over the plug while it’s connected. With Chris, we planned placement so he could back in, plug in, and still have a secure, protected connection.
Correct Mounting Height and Location
There are minimum and maximum heights for receptacles above grade, and they must be installed in a way that’s protected from physical damage (like being hit by a vehicle). We also consider:
- Distance from the RV parking spot (to avoid cord strain)
- Trip hazards from cords across walkways
- Clear working space in front of any electrical panels
Safety Considerations Homeowners Often Overlook
When we walk homeowners through RV hookups, we spend a lot of time on safety. A “simple” plug can carry a lot of power.
Panel Capacity and Load Calculation
Before we ever run wire, we look at your existing service panel. We want to know:
- What size service you have (100A, 150A, 200A, etc.)
- How many large loads you already have (HVAC, range, dryer, EV charger, hot tub, etc.)
- Whether there’s physical space for another breaker
For Chris, we planned to review his panel in person before quoting. In some homes, the panel can easily handle an RV circuit. In others, we may recommend a panel upgrade or a load management solution so you’re not overtaxing your system when everything is running at once.
Grounding, Bonding, and GFCI Rules
Proper grounding and bonding is critical for any outdoor circuit. Depending on where the RV receptacle is placed and how far it is from the home, we may need to:
- Install a small outdoor subpanel for the RV hookup
- Add or verify ground rods and bonding jumpers
- Follow local requirements on GFCI protection for RV receptacles
We always follow local code and manufacturer specs here — it’s about preventing shock hazards and protecting both your RV and your home.
What Drives the Cost of an RV Hookup?
When we come out to do an estimate, we’re looking at a few main things that affect cost. This is exactly what we planned for with Chris’s visit.
1. Distance and Wire Routing
The farther the run from your main panel to the RV hookup, the more wire and labor are involved. Costs go up if we need to:
- Run conduit underground across a yard or driveway
- Fish wires through finished walls or ceilings
- Work around landscaping, concrete, or other obstacles
2. Panel Condition and Upgrades
If your panel is full, outdated, or not up to current code, we may recommend:
- Replacing the main panel
- Adding a subpanel for new circuits (including the RV)
- Correcting existing code or safety issues while we’re there
These upgrades add to the upfront cost but make your whole system safer and more reliable.
3. 30A vs 50A and Material Choices
A 50A RV hookup typically costs more than a 30A because it requires heavier wire and sometimes longer runs back to the panel. We also discuss options like:
- Simple receptacle vs. a pedestal-style RV power post
- Adding a standard 120V outlet alongside the RV plug
- Upgrading to more durable, corrosion-resistant devices outdoors
How to Get Ready for Your RV Hookup Estimate
Before we come out, there are a few things you can do that really help the process:
- Take clear photos of your main electrical panel (inside with the door open, and outside)
- Note where you plan to park the RV and how you’d like to plug in
- Check your RV’s plug type and amperage rating
From there, we’ll do what we did for Chris: visit the home, walk through options, check the panel and layout, and then provide a written estimate. If the numbers look good, we’ll schedule the work so your RV is ready to plug in when you need it — safely, and up to code.
If you’re considering an RV electrical hookup at home and want to know what it would take for your specific setup, the best next step is an on-site visit. Every driveway and every panel is different, but with the right planning, we can give your RV a safe, reliable power source right at home.