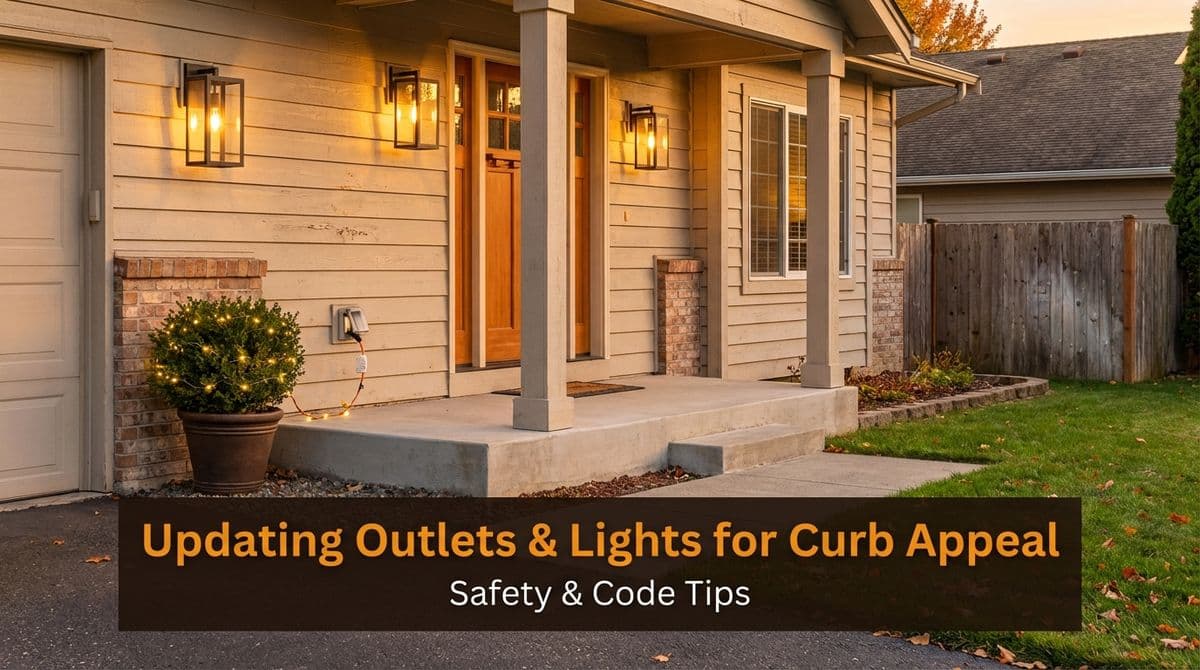
Updating Outlets and Exterior Lights Before You Sell
Selling your home? Learn how updating outlets and exterior lights can improve safety, meet code, and boost curb appeal — especially in older houses.
Getting a Home Ready to Sell: A Real Call About Outlets and a Porch Light
We recently got a call from a homeowner — let's call her Linda — who was getting her house ready to sell. Her main question was simple on the surface: could we replace a rusty porch light and four interior outlets?
As we talked, it became clear this wasn’t just about looks. Linda’s home was built in the 1970s, and she mentioned she’d “heard something about aluminum” and older wiring. She had already bought replacement outlets and a new light, but wanted us to confirm she’d purchased the right items and that everything would be safe and up to code for her buyers and their inspector.
Her situation is incredibly common: homeowners doing focused, budget-conscious updates before listing their home. So let’s walk through what we looked at with Linda, and what you should consider if you’re thinking about updating outlets and exterior lights before you sell.
Why Outlets and Exterior Lights Matter When You Sell
When buyers (and their agents) walk through a home, they’re evaluating more than just the kitchen and paint colors. Electrical details can quietly influence how “safe” and “well cared for” your home feels.
With Linda, she wasn’t replacing all the outlets in the house — just four in the main spaces plus the front porch light. That’s a smart, targeted approach, and here’s why those small upgrades matter:
- Visual first impression: Yellowed, cracked, or mismatched outlets and switch plates make a home feel dated, even if everything technically works.
- Perception of safety: Rusty exterior fixtures and obviously old receptacles can raise questions for buyers: “If this is what I can see, what else hasn’t been updated?”
- Inspection issues: Older homes — especially 1960s–70s construction — can have aluminum wiring, ungrounded outlets, or mismatched devices and breakers. These are red flags for inspectors.
Linda was focused on “cosmetic purposes,” as she put it, but we always treat these projects as safety and code checks, too. A good electrician should do both.
Understanding Outlet Types: 15 Amp vs. 20 Amp
One of the first things we asked Linda was where the outlets were located. Three were in the master bedroom, and one was in the dining room. That told us a lot.
Most bedroom receptacles are on 15-amp circuits, while dining rooms are often on 20-amp circuits to handle heavier loads like portable heaters, buffets, or small appliances plugged in for gatherings. Using the wrong outlet on the wrong circuit is a subtle but important code and safety issue.
Here’s a quick guide:
- 15-amp outlets: Common in bedrooms, living rooms, and general-use areas. They have two vertical slots (plus a ground).
- 20-amp outlets: Often used in kitchens, dining rooms, and other areas where higher current devices may be used. They have a distinctive “T-shaped” neutral slot.
With Linda, we told her we’d start with the dining room outlet. If we opened the box and found a 20-amp circuit with 12-gauge wire, we’d need a proper 20-amp receptacle there — not just whatever was on the shelf at the home center. That’s why we often say: it’s totally fine if you buy the devices ahead of time, but let us confirm they’re the right ones before we install them.
Older Homes, Aluminum Wiring, and Replacement Outlets
Linda’s house was built in the 1970s, and she wasn’t sure if she had aluminum wiring or not. She’d had some outlets replaced in the past and bought “the same ones” again, but asked us to double-check. That’s exactly the right instinct.
If your home was built or heavily renovated in the late 1960s or 1970s, there’s a chance you have aluminum branch-circuit wiring. Aluminum wiring itself isn’t automatically dangerous, but it requires specific devices and connection methods:
- CO/ALR-rated devices: Certain outlets and switches are rated for copper or aluminum wiring and must be used if aluminum conductors are connected directly.
- Approved connectors: Sometimes we’ll pigtail copper to aluminum using special connectors and paste, then land the copper on standard devices.
- Tight, clean terminations: Aluminum expands and contracts more than copper, so loose or improperly landed connections are a common hazard.
This is why we never recommend “DIY swap-outs” in older homes without at least a quick inspection. In Linda’s case, we planned to verify the wire type in each box before installing the outlets she’d bought and to let her know if any needed to be exchanged.
Exterior Lights: More Than Just Rust and Style
Outside, Linda’s porch light was simply rusted and tired-looking. She had purchased a new fixture that was basically the same style — a smart move when you’re selling. You don’t have to get fancy; you just need clean, working, and appropriately sized fixtures.
When we replace an exterior light before a sale, we look at more than the fixture itself:
- Weather rating: The fixture should be rated for damp or wet locations, depending on its exposure.
- Box and mounting: The electrical box should be secure, properly sized, and not rusted through or loose behind the siding or brick.
- Gaskets and sealant: We often add or replace gaskets and seal around the fixture to help keep water out of the box.
- Bulb type: LED bulbs are a plus for curb appeal and energy efficiency, and buyers notice the bright, clean light.
A fresh, rust-free porch light makes a surprisingly big difference in photos and showings. It’s usually one of the most cost-effective curb appeal upgrades you can do right before listing.
Simple Safety & Code Checks Before You List
Even if you’re only changing a handful of outlets and one light, it’s a great opportunity to catch small issues before a buyer’s inspector finds them. During visits like Linda’s, we typically:
- Confirm the circuit size (15A vs 20A) and match the devices correctly.
- Check for aluminum vs copper wiring and use the proper devices or connections.
- Verify grounds are present and properly connected.
- Look for cracked plates, loose outlets, or signs of overheating or arcing.
- Test GFCI protection where required (kitchens, baths, exterior, garages, etc.).
Most of these checks are quick, but they can save you from a long inspection repair list and last-minute negotiations with buyers.
Practical Tips If You’re Getting Ready to Sell
If you’re in Linda’s shoes and preparing your home for the market, here are a few practical steps:
- Prioritize visible areas: Focus on main living spaces, entryways, and the primary bedroom first.
- Match colors and styles: Consistent white or light almond plates and devices look cleaner than a mix of old and new.
- Upgrade key spots to tamper-resistant: TR outlets are now standard and a plus for families with kids.
- Replace rusted or faded exterior fixtures: Front porch and garage lights give the biggest curb appeal boost.
- Have an electrician do a quick walk-through: Even a small project visit can double as a mini safety and code review.
With Linda, we scheduled her for a specific afternoon, set clear expectations, and gave her a firm price for replacing the four outlets and the porch light. That way, she knew exactly what would be done and what it would cost — no surprises when it came time to list her home.
If you’re thinking about selling and aren’t sure where to start with electrical updates, we’re happy to talk through your specific house, age, and priorities and help you choose the upgrades that give you the best mix of safety, code compliance, and curb appeal.